


When we bought chicks this spring, to start our flock, we got quite a few. They were extremely young, and being that this was our first time raising birds, I considered that some of them might not live to maturity. We must have some luck, because all of them made it! So, it was no surprise when a few of them started crowing. Out of our 12 chicks, we ended up with 4 roosters. All 3 of our outgoing Buff Orpingtons were soon crowing and fighting, bullying the hens, and attacking my legs when I change their water.
Since Buff Orpington are known for being prolific layers as well as decent meat birds, I thought this was the perfect opportunity to bring some peace to the flock and get some experience processing birds on a small scale. I watched dozens of videos on YouTube about the topic, to get the gist. Really, it is a simple process and next time I’d like to make an educational video myself.
Step 1: Slaughter & plucking
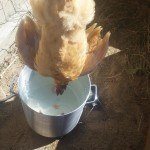
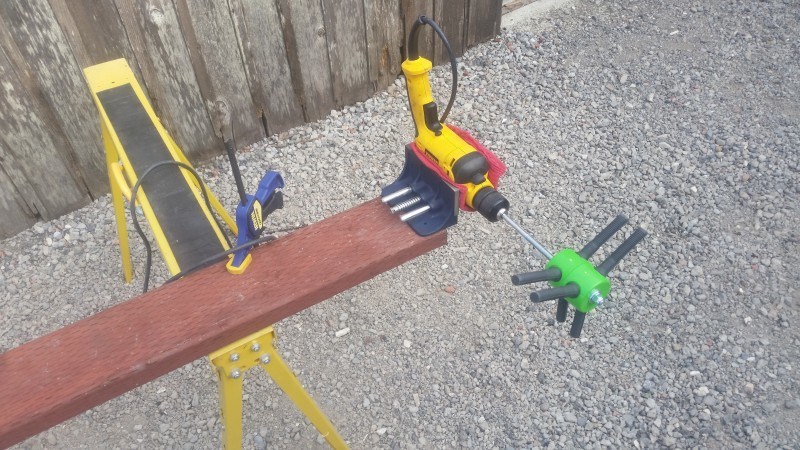
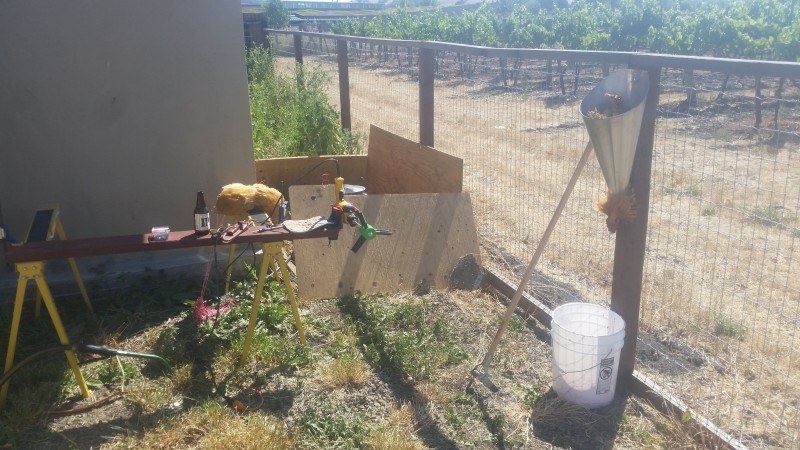
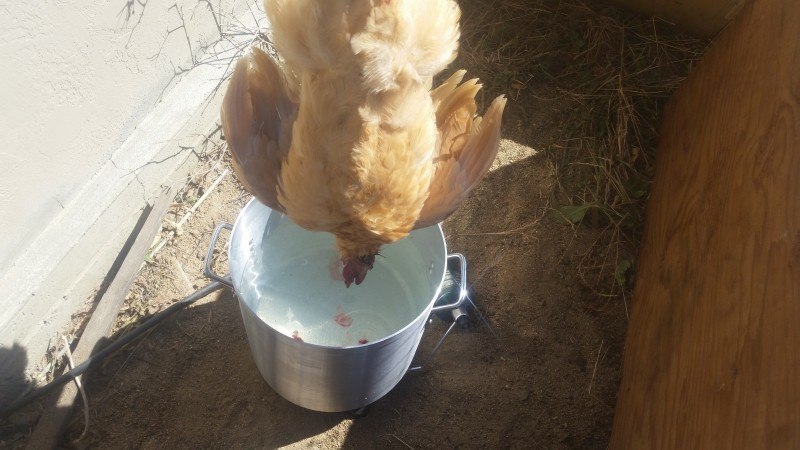
Having seen some mildly disastrous attempts where the bird was simply hung upside down on a line, I opted to purchase a sturdy metal “Kill Cone” and attached it temporarily to a fence post. This held the bird securely, and prevented flapping while alive or from nerves. I used an extremely sharp knife to make a cut on each side of the neck, through the featherless ‘ear’ skin, to sever the arteries. Once the bird has drained, it needs to be plucked. Several dunks in scalding water (15 or so seconds submerged each time) does the trick to loosen the connective tissue holding on the feathers. The only problem I had with this step was not having a powerful enough heat source to bring the temperature back up quickly, after the first bird had been dunked. Next time I’ll be using a heavier propane burner.
Step 2: Evisceration
Once they were plucked, I removed the feet and heads, and brought them in to the sink. Then, I set up my phone on a stand, and went step-by-step with this excellent video featuring Joel Salatin of Polyface Farms:
[yt4wp-video video_id=”JRF4EFOW2Vk”]
Cleaning a bird is not hard, and once you’ve gotten a feel for it, I’m sure it can be done quickly. As a newbie, it took a bit of time for each bird from having to replay parts of the video to ensure I was getting it right. The carcass of my young roosters was a bit different looking than those big meaty broilers he’s got.
Step 3: Prepare and cook however you like!
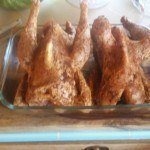
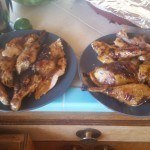
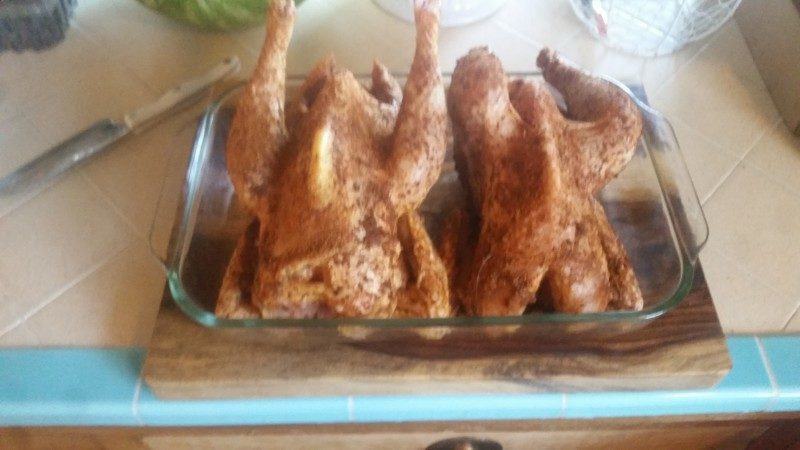
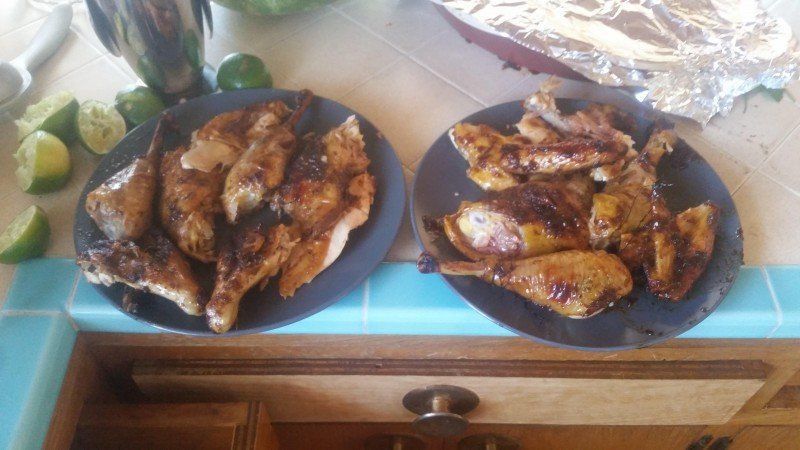
Once cleaned and ready, we covered each in a poultry rub and then injected with a brine made with the same rub. We have a motorized rotisserie on our grill, so after setting over night in the fridge, I trussed each chicken and basted one in BBQ sauce. After a little more than an hour rotating over the open grill set to high, the inner temp of the meat was 165 and just ready to eat. They were TASTY, despite being tough in places (drumsticks, parts of the thigh). The breast meat was juicy, tender — everything you’d want.
The whole process was a great learning experience, and while I don’t think I’ll start raising Opingtons for meat, they were good eats. I’m excited about trying broiler birds next time, and fixing some of the mistakes we made this time.
2 thoughts on “Processing roosters for meat”